
Discover the Simple Steps to Create Your Own Email Domain and Boost Your Professionalism in Email Communications. With our step-by-step guide, you can easily set up an email with your domain name, making you appear more credible, trustworthy and professional while connecting with clients.
What Is An Email Domain Name?
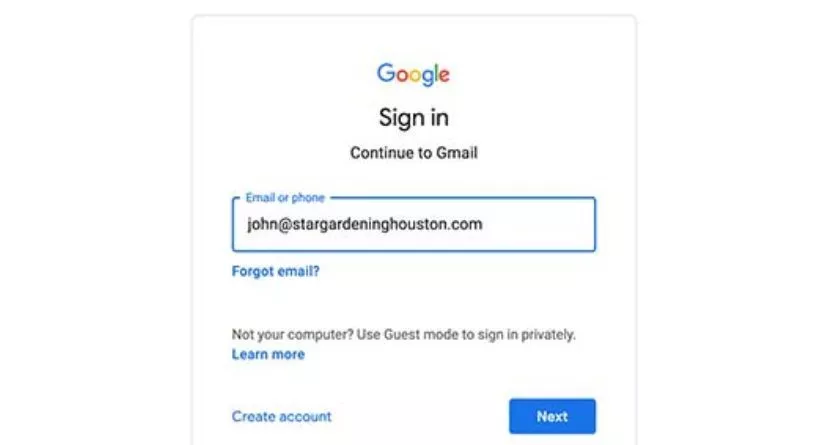
Understanding Email Domain Names: The Basics Explained. Custom email domain names are an essential part of brand identity for most businesses and professionals. By following simple steps, you can create an email address that represents your brand and matches your website – for instance, Custom email domains not only help establish brand recognition but also increase authenticity and credibility, enabling recipients to trust your emails as official communications associated with your brand.
Can I Create A Custom Email Domain for Free?
Unveiling the Truth about Custom Email Domain Costs: Can You Get it for Free? While email domains that end with the name of a mailing service (Gmail, Outlook, etc.) are free, getting a custom email domain can cost you. However, there are web hosting service providers that offer a free custom email domain as an additional benefit with their hosting plans. It is wise to opt for such hosting providers to save on email domain costs.
Bluehost is a leading web hosting service that offers a free custom email domain along with their premium hosting plan. With Bluehost’s reasonable pricing for web hosting, the custom email domain name you receive is practically free.
How to Create Your Custom Email Domain
Creating a custom email domain is actually very easy. Simply follow the steps outlined below to get started.
Step 1: Choose a Hosting Plan and Sign Up for Bluehost
Ready to Get a Free Custom Email Domain? Follow These Simple Steps. If you’re looking for a web hosting service provider that offers a free custom email domain, Bluehost is the perfect choice. With their hosting plans, you can get a custom email domain at no additional cost. To get started, simply head over to Bluehost and click on the ‘Get Started Now’ button.
Choosing the Right Bluehost Plan for Your Custom Email Domain: Step-by-Step Guide. Once you visit Bluehost, you will see different hosting plans with free custom email domain options. While all plans offer this feature, it’s important to assess other plan features before making a final decision. After you have made your selection, simply click on the ‘Select’ button under your preferred plan to proceed.
Next, we’ll be creating your new domain name.
Step 2: Create Your Free Domain Name
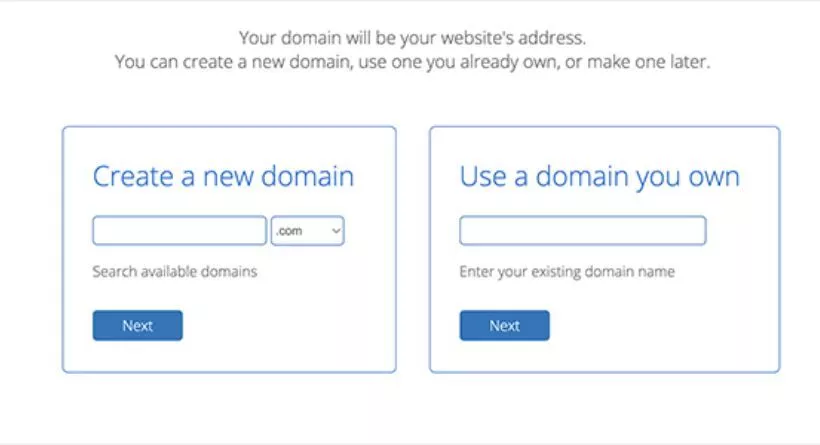
Naming Your Custom Email Domain and Website with Bluehost: Step-by-Step Guide. Once you have selected your desired Bluehost hosting plan, the next step is to provide a name for your domain. This name will represent your website and serve as your custom email domain name.
Get Inspired with a Free Business Name Generator Tool for Your Email Domain and Website. Choosing a name for your business is crucial, as it will also determine your website and custom email domain name. If you’re struggling to come up with a name, don’t worry – you can use a free business name generator tool for inspiration. This tool can help you find a suitable and available name that closely matches your business.
Creating Your New Email Address with Your Custom Domain on Bluehost: Step-by-Step Guide. Once you have chosen your business name and verified its availability, you can enter it in the Bluehost domain creation screen. After entering your billing information, Bluehost will send you a welcome email to confirm the domain creation process. Now that your custom domain is set up, it’s time to create your new email address using your business name as the email domain.
Step 3: Create Email Address At Custom Domain
Creating an Email Address with Your Custom Domain on Bluehost: Step-by-Step Guide. Once you have set up your custom domain on Bluehost, log in to your account and click on the Email & Office menu option on the left-hand side of the screen. Then, select the ‘Manage’ button next to your domain name to create your email address with your custom domain.
This will you to your email account panel. Click on the Create button to continue.
Creating Your Custom Email Address with Bluehost: Step-by-Step Guide. Once you’ve accessed the Email & Office menu on Bluehost and clicked on ‘Manage’ next to your domain name, choose a username for your email address. The username is the part of the email address that appears before the @ symbol. As for the password, Bluehost can automatically generate a strong one for you by clicking on the ‘Generate’ button next to the password field.
Customizing Your Email Settings with Bluehost: Tips and Tricks. In the ‘Optional Settings’ section, you can customize your email storage space and modify other settings. Note that Bluehost’s Basic plan has a storage limit of 100 MB. For those who need more storage, we suggest upgrading to the Bluehost Plus plan or higher for unlimited storage.
Once you’ve finished customizing, simply click ‘Create’ to finalize the setup of your new custom email address.
This will create your email account at your custom domain name. Now, you can access your mailbox to send and receive messages at your new business email.
Step 4: Access Your Custom Email Mailbox
After successfully creating your email address, Bluehost will redirect you to your email account panel page. From there, you can click on the ‘Check Email’ button to access your new email account.
Next, simply click on Open to access the mailbox of your new custom email domain.
Here’s what our new email address at a custom domain looks like:
To access your new custom email account through desktop mail clients like Microsoft Outlook, simply enter the email address and password you created during the Bluehost configuration.
This allows you to easily connect your email address to Outlook and access your account from there.
With this, you have successfully created a custom email domain for free using Bluehost hosting account. Now you can enjoy the benefits of having a professional email address with your own custom domain name!
Next, Create An Email Subdomain
Creating a custom domain and email is just the beginning. To maintain your root domain’s email reputation and avoid email deliverability issues, it’s essential to set up an email subdomain. Check out our comprehensive article on email deliverability to learn more about preventing WordPress emails from going to spam and other common email problems.
If you’re ready to fix your email issues, WP Mail SMTP Elite, the best WordPress SMTP plugin, is the solution. With its White Glove Setup and a 14-day money-back guarantee, you can’t go wrong.
For more WordPress tips and tutorials, follow us on Facebook and Twitter.